Wednesday, January 16, 2013

Diamondback Overdrive 29'er. A Second Look

Hello and Welcome, Just a few months ago I did a Blog Post titled "Searching for the Best Cheap 29'er?". One of the 29'ers that impressed me was the 2012 Diamondback Overdrive.
The following is the description and what I had to say about the 2012 Diamondback Overdrive 29'er then. The 2012 Diamondback 29er. Brakes Tektro Novela Disc w 6 inch Rotors. (2013 Diamondback Overdrive base model no disc brakes) Shift Sram x4 Trigger. Tires WTB. Front derailleur Shimano. Fork SR SunTour. Rear derailleur Sram. This is a nice "resell able" brand name bike that makes the cut easily. The 549.00 price is a little out of my specified range. If I was going to spend that much money I think this would be a real good choice. If you found it on sale for 500.00 then yes definitely a winner.
Left: Advertisement introducing the Overdrive 29'ers in 2008. Now I was certainly not in the market for a new 29'er Mountain Bike. After all, this was just a favor for a friend and something to blog about. But "what if" I found a NEW 2012 Overdrive 29'er for say about $350
Above: Me showing-off my Awesome new Cycling Jersey that I received as a gift along with a bag of gourmet coffee (which by the way is excellent) and some really cool stickers from my friends Laura and Brian at "Roos Roast Coffee Roasters" in AnnArbor Mi. Thanks again guys! You Rock! OK back to the story. Well shortly after the BIG Holiday. I found myself with an extra 500.00 . So I decided to go back and take a second look at the Diamondback Overdrive 29er. When I spotted the 2012 Overdrive on sale for a mere 354.00 (m.s.r.p. 600.00) I just could not resist. Even my darling wife thought it was a good idea (and that never happens) Well how could I walk away from this fantastic deal? I couldn't. Here is just one example of why I think this is a really awesome deal. On Oct. 29th 2012 a damaged one of these (including frame damage) was sold on the e bay for 227.50 + 21.42 shipping That is about 106 dollars less than I just paid for this brand spanking new one Still in the box! I hate to say it but.. With the shipping industry being what it is, this was at best "a roll of the dice". Fortunately this box showed up at my front door in near perfect condition. Here's to you Mr UPS Guy! Well done!
Above: Here I am installing the mtb pedals. For the first ride I thought it best to just go with stock pedals with no toe clips and straps. This will be my first time riding a 29er, so I am going to keep it "as simple as possible". Besides, while we are having a thaw right now, I am not sure if the paved trail will be free of snow and ice once I get back in the woods.
Above: As always I did apply a wee bit of grease to the pedal threads before threading them in by hand. It is my belief that everything should be screwed or threaded in by hand (for starters) to avoid cross-threading. For now I will install the stock saddle and change it latter if necessary. The assembly (what there is of it) instructions are pretty good. I did have to be sure the tire and brake disc rotation matched when installing the front disc. The front caliper directions show an adapter, but that does not apply to this bike. Which is a good thing, since I could not locate one anywhere in the box or parts bags. Both the disc and caliper bolted into place without a hitch.
Above: Here I have mounted the front wheel. I left the caliper just loose enough that I could still maneuver it (the caliper) into position while sliding the disc into place between the two pads inside the caliper. Once the wheel is on I can adjust the caliper position using a LED Flashlight to make sure the gap between the pads and disc looks good. Once I am satisfied with the caliper position I tighten the mounting bolts. Now I can connect the cable to the caliper. It rubbed a little (disc to pads) when I first spun the wheel. Then I realized they (The Calipers) are self adjusting. After a few good pulls on the brake lever while spinning the wheel the caliper adjusted itself quite nicely. The cable routing and hook up are simple and the directions are pretty clear.
Now I can trim the brake cable and crimp-on a cable tip. Since I still have handlebar and possibly shifter & lever position adjustments to make, I will not trim the cable too short. For now I will tilt the handlebars close to what looks correct and snug up the clamp. I will take a few wrenches with me on the ride to make final handlebar and saddle adjustments on the spot. I suggest that If you want to re-grease the front wheel bearings you do this before you install the disc. Then wipe off any excess grease and clean any grease off your hands before handling the disc.
Above: The trail map picture taken in the summer. This is a short trail marked in yellow. I like to ride the outer perimeter (RED) usually 4 or 5 laps. This combined with the ride to and from the park is about 8 or 10 miles depending on the route taken. The first ride went really well. I was able to make all my final adjustments in the parking lot before entering the trail. One part of the trail was very hard slush and snow. The kind of partially melted ice that breaks up under your tires. The bike handled it really well, and so did I for that matter :) It brought back memories of riding through the snow and slush on my paper route as a boy.
Above: This is what the trail looked like on my last visit. This was obviously before the thaw. This powder was not too deep and would actually have been fairly easy to ride through. That is if you can stand the cold. The soft half frozen ice is tricky because as it breaks under the weight of the tires the bike gets pushed around a bit. Your weight is constantly shifting to adjust. It is sort like riding a unicycle on a bumpy surface.
Above: Now back at home I will start to make some equipment changes to suit my needs and riding style. I was not able to find a comfortable riding position for the stock saddle. And I was wearing my padded Canari Cycling Shorts under my long Adidas jogging pants. So I just went ahead and installed the Speed V Comp Saddle. Nothing fancy, just very comfortable and not bad looking either. And the W.T.B. logo matches the same on the WTB Wolverine 29'er tires. How fitting "Wolverine" tires, and myself only 3/4 of an hour away from the "Big House". Home of the UM Wolverines football team, Go Blue!
Above: Another change I made right away was to install the clip-less pedals. Now that I feel confident riding the 29'er and I enjoyed it immensely, no sense delaying the inevitable. I have a feeling this is going to be my "main ride" for quite a while.
Above: I will also be replacing the grips. These just are not wide enough for my large manly hands..ltms.... Seriously, they really are not wide enough. And they need more padding. I will order some phat clamp-ons tomorrow.
I will also be ordering a new wedge tool bag. I think I will get a detachable bag. Hopefully I will be able to find one similar to my old red Cannondale wedge bag. I really should have kept that one for myself. But it really did look good on that chrome framed Raleigh Teton.
Above: The suspension fork has dampening adjustment at the top of the fork legs. And rebound adjustment on the lower (bottom) fork legs. This suspension is "no big deal" by today's standards. But should easily handle anything my 56 year old and tired body can throw at it.
Above: I could not help but notice, that looks like the same rear derailleur I installed on Laura's bike. And I think the shifters and levers are the same as well. AND!! Is that a pie plate I see behind the cassette? Have I lived so long that they have come back into fashion? Cool!! Because I have a boat load of vintage pie plates laying around the shop / garage. UPDATE: The 2012 Diamondback Overdrive is no longer available on Amazon. If they do not sell out, I would imagine the 2013 Diamondback Overdrive will be marked down after the 2013 holiday season. It might be worth the wait.
Above: I really do love the new jersey. But Please, take the bloody picture already! How long do you think I can suck in my gut? My God I look like I`m about to fall over...LOL.. Until next time Please RIDE SAFELY and Remember to Always....RESCUE, RESTORE & RECYCLE Cheers, Hugh
A sincere Thank You to those of you who have been using or just checking out "Hugh's Online Bike Shop". It is pretty well stocked now and it is getting a little more organized every day. If you have not visited it yet and would like to. The link is in the top right column just below the Followers

Wednesday, January 9, 2013

Trek Multi Track 700 / Plan B

Hello and Welcome, At the end of the last post regarding the Trek Multi Track 700 I stated that the test ride had revealed some problems. So many in fact I decided it would be best to go in a whole different direction.
Above: Above for starters (A) The road bike brake levers do not have enough range to operate the brakes properly. I had spent some time positioning the levers so that the suicide levers were within easy reach. If you are thinking all I needed to do was set the levers up higher, you are wrong. Because doing that positioned the suicide levers much too low to be reached easily. But there are bigger problems (B) The stem mount index shifters that arrived were actually down tube shifters. So no big deal I will mount the index shifters on the down tube. Not a bad idea, except they don`t fit the over sized down tube. Not to mention that I know Laura likes her shifters mounted up high. (C) The chain is stretched, no big deal I already made plans to replace it if necessary. Now (D) The rear derailleur is all over the place, tightening the shift levers did not help. And I set the limit screws on the rear D when I had it on the stand. It seemed to work fine on the FeedBack Work Stand. But on the road with a load and resistance "it's a mess". So where do I go from here?
Above: Laura had brought this partial bike she purchased from a sporting goods store. It is pretty nice. But I know she wanted drop handlebars if possible. But she also mentioned she could live with straight bars if necessary. (just no risers) Well it looks like with the brake lever problem, the shifter problem and the sketchy rear derailleur... The straight bars just became necessary. Above (E) straight bars with nice levers and SRAM X4 Impulse Shifters. And (F) a very nice looking 8 speed derailleur. (but I`m not sure about that hook up) At this point I drag both bikes to the basement. I am a little "pissed off" now. But this also has my Adrenaline up. And I am in the perfect mood for a late night in the basement / make shift bike shop.
Above: I removed the drop bars with the stem attached. I also removed the stem mount friction shifters. I had disconnected the brake cables to keep those with the drop bars and stem. Then I removed the front and rear derailleur cables along with the rear derailleur and the chain. Fortunately I had a salvaged mountain bike stem (and cable hanger) on hand in the correct size. (sometimes it pays to be a hoarder)
Above: I removed the shifter, brake lever and grip and bar-end from the left side of the straight bars. Then slid the bars into place. The brake cable routing is totally different now. So I installed new cables and cut new lengths of cable housing. Luckily I still have white cable housing left over from the Parliament restoration. Once the brakes are hooked up I can see that they will no longer be an issue. Now for the Rear derailleur.
Above: I had two concerns about the SRAM derailleur, (1) The mounting was different. And (2) The SRAM is an 8 Speed derailleur and we have a 7 Speed cassette. The mount was simple, I just removed the bridge piece that connected the derailleur to the machined drop out on the parts bike. After that it attached to the drop out just like the original. Things are looking up. The first time I ran it through the gears (on the stand) it over shifted the largest cog. After shortening the reach by adjusting the (L) low limit screw that problem was solved. There was no problem with the shifter to the front derailleur as both bikes had triple chain-rings.
Above: Well I have made all the changes, and I am feeling pretty good about life in general. But I still need to test ride the bike again to be sure everything is "good to go". Unfortunately the weather has gone from bad to worse. It is icy and snowy, that's not so bad. But it is also colder than a bat's A&&. I am getting too old for this $#!& I'm gonna have to wait until the weather lets up.
Above: The weather finally let up a little, although it is still pretty cold. The test ride was both good and bad. The brakes are working great.(yeah!) The tires are surprisingly good in the light snow over hard packed snow on the road. The front derailleur is working beautifully and the rear derailleur is shifting crisply and smoothly. There is a problem though. On the two cogs (or sprockets) above the smallest cog (6th and 5th gear in my book) it is slipping. Every where else it is fine...%$#@!!! It has to be the #@! %&#@ cassette! I have to go to the L.B.S. (15 miles away) and get the original cassette removed. On close inspection the teeth on those two gears (5th and 6th) are not looking too good. Funny thing, all the other sprockets or gears look pretty good. I order a new Sram 8 speed cassette. I got this Really Stupid idea that removing the pie plate would give me enough room to add another gear. I have done it before with a five speed free-wheel. Only one problem, This ain't a %$# @*%$ freewheel! What the #@&$ was I thinking. Removing the pie plate ain't gonna make the slots in the hub any deeper! How can I be so %#$@&%$ stupid!
Above: A few days latter (actually more than a few) the new SRAM PG830 cassette shows up. And as feared it does not fit. I did manage to find a 7 speed SRAM PG730 cassette at Cycle Therapy Waterford Mi.(15 miles one way) Only one more little problem. I still have not received delivery of my new Park Tool FR 5G (Shimano/Sram cassette removal tool) The tool I ordered the same day I ordered the first @#& %&@% Cassette! No worries I am sure the new cassette tool will arrive in the morning. Wrong again! Anyway I have a tool that almost fits. And I was able to snug up the 7 speed cassette pretty good. Why not just take the wheel with me when I went to pick up the 7 speed cassette? I did not think of that until I was almost there. I was kick'n my self in the a$$ at every turn on this project. Why stop now? ltms
Happy! Happy! Joy! Joy! It is finally working properly :) Tomorrow Laura is coming to pick up her new winter ride. (just in time for summer) I have no idea why I thought I could make the 8 speed cassette work. I know there was a tiny voice in the back of my head saying "Hugh, just order the 7 speed cassette, the 8 speed might not fit" I really need to learn to listen to that little @%&%#@!
Above: Considering where I started I think it came out pretty good. I hope Laura agrees it was worth the wait (well most of it anyway) to get it right. UPDATE: The new Park Fr-5G Cassette Removal Tool showed up the morning after Laura picked up her bike. UN #%$&*@% believable!
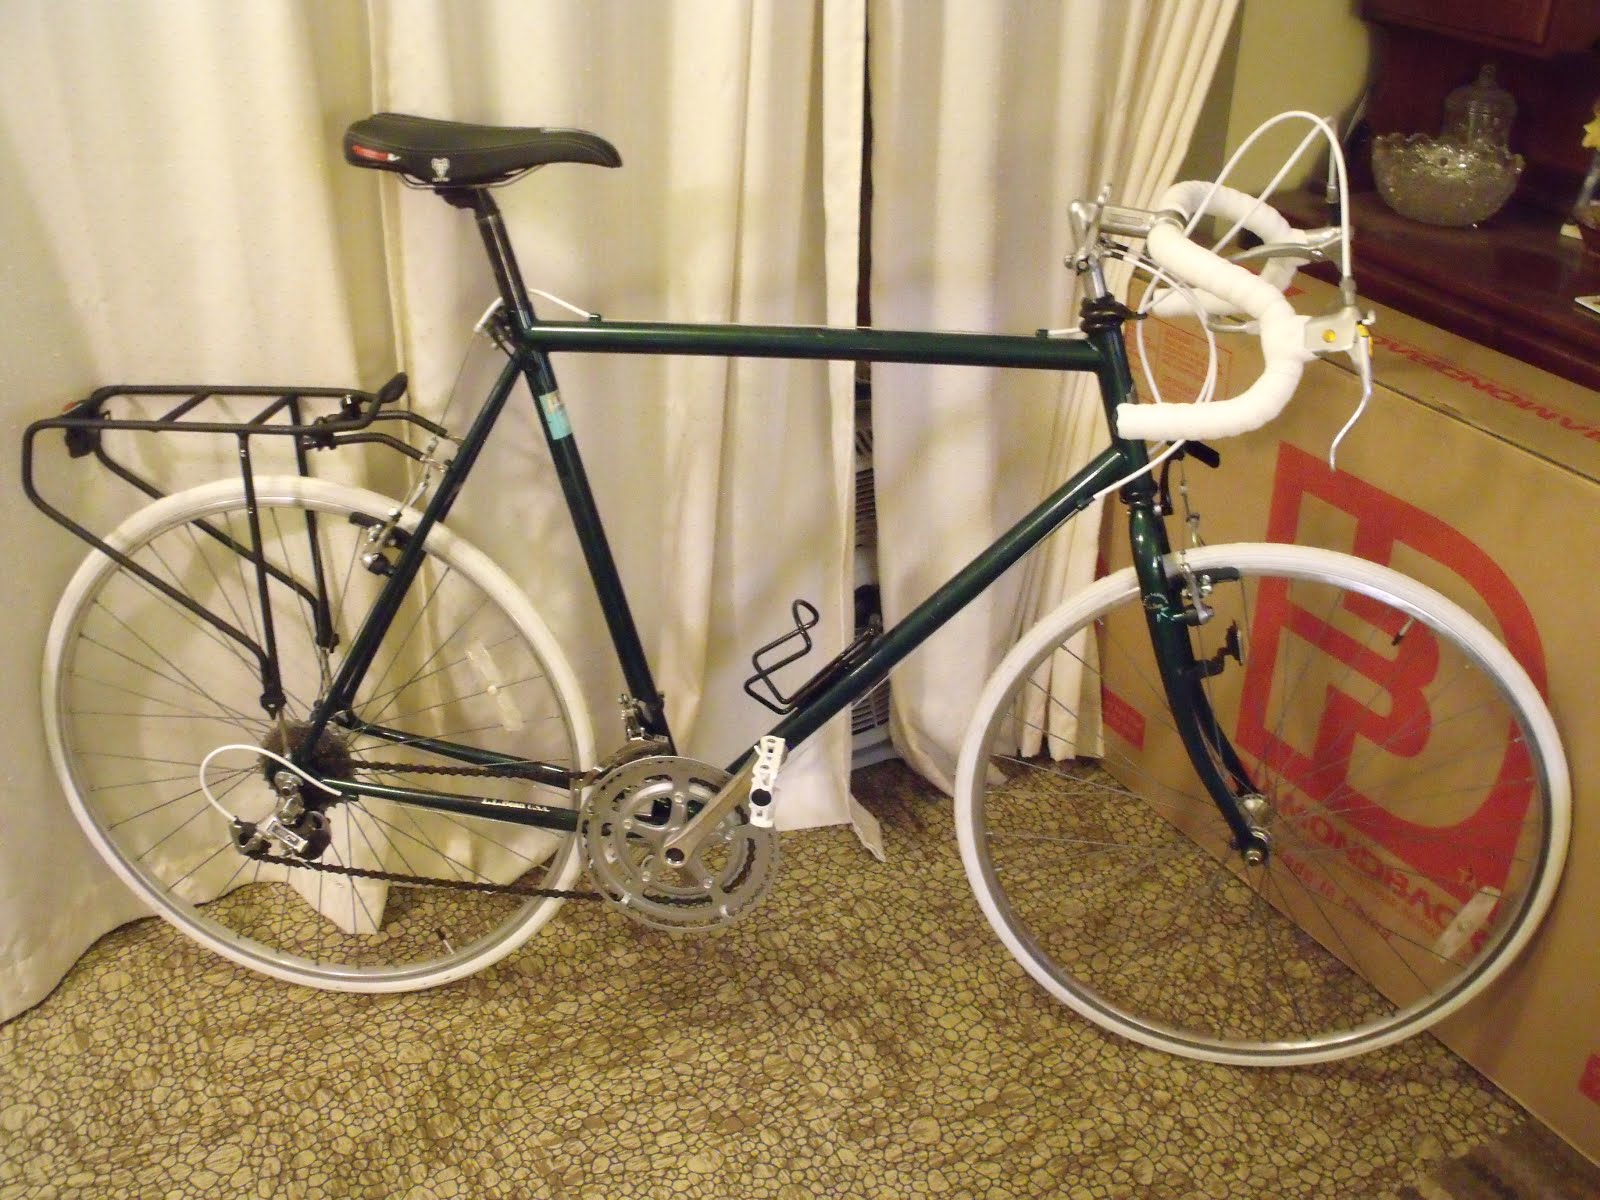
Above: The drop bars did not go to waste. I think they look awesome on the L.L. Bean bike. And with the suicide levers I can still ride in the semi upright position. But what did I do with the flop and chop bars that were on the L.L. Bean ?
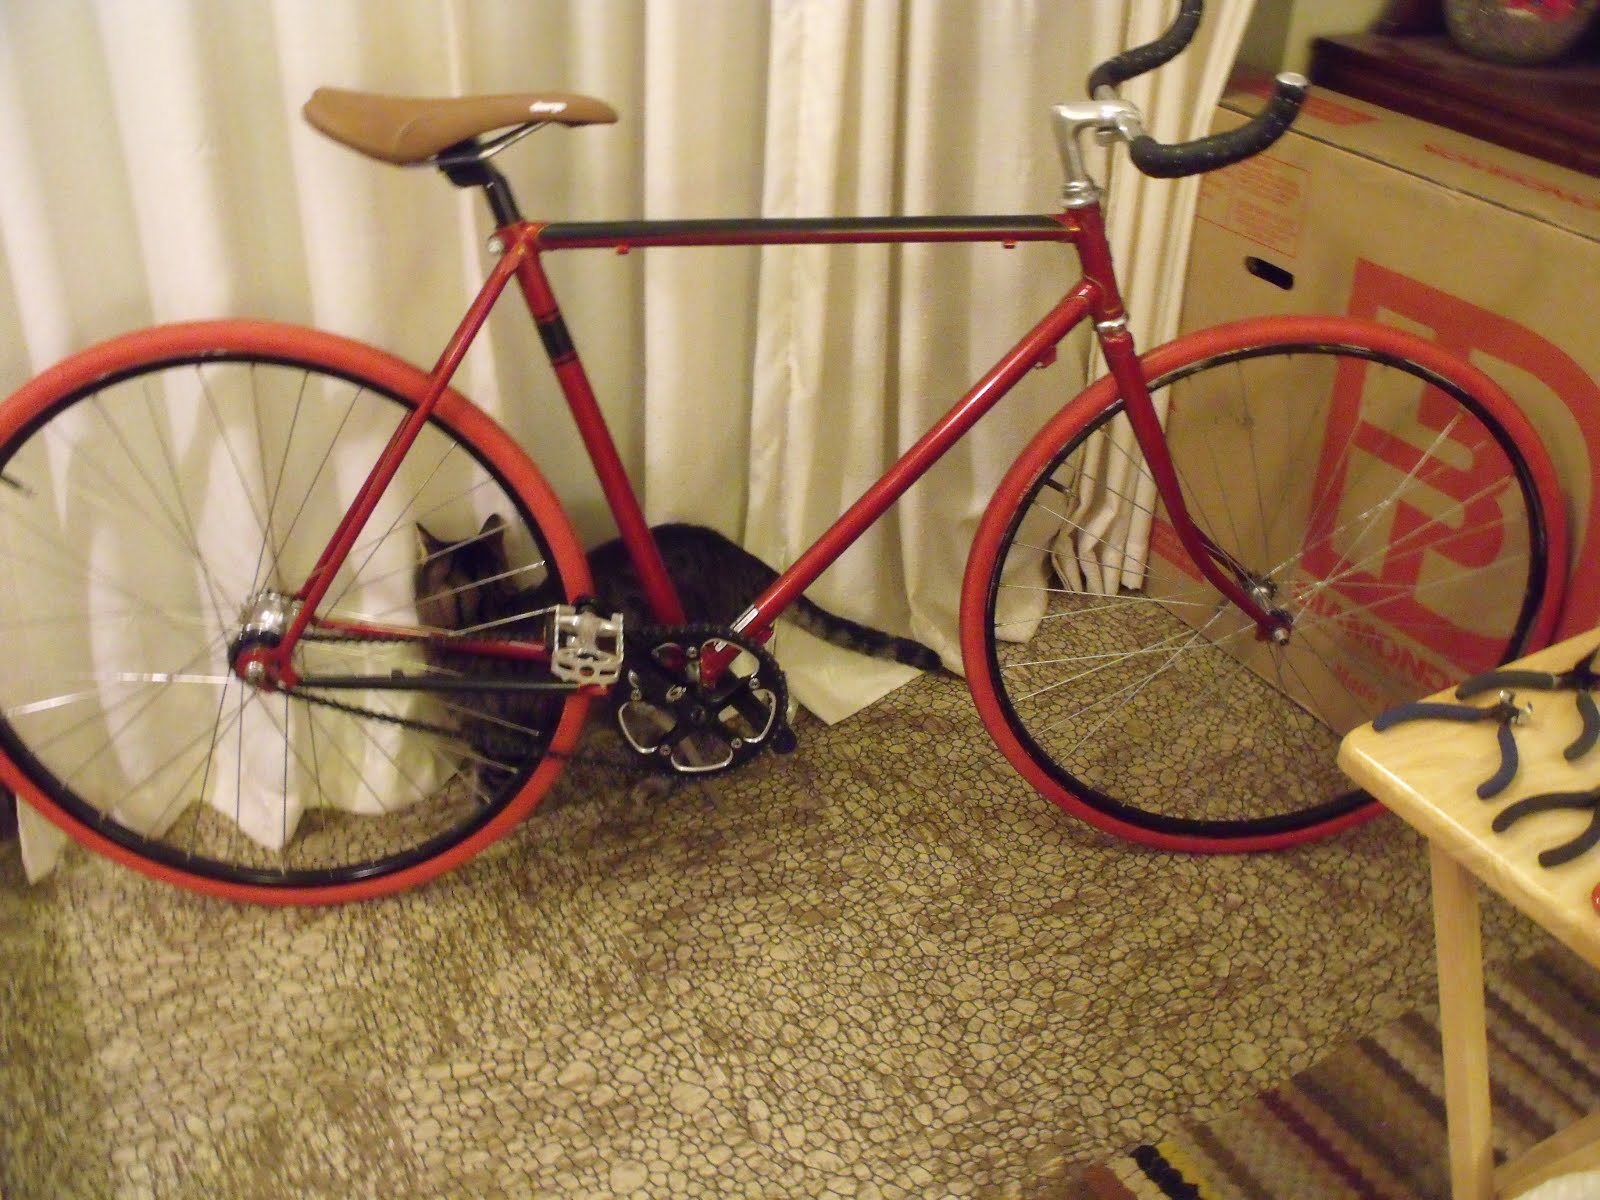
Above: Well they did not go to waste either. I think I finally found the right look for the free Spirit fixed gear bike. And the bars that I removed from the fixie? Those are going to the scrap guy for recycling. A good deal all the way around :)
Before I close I would like to say Sorry about all the #%& @%&# swearing! Sometimes nice words just don't get it done :) Until next time Please RIDE SAFE and Remember to Always.....RESCUE, RESTORE & RECYCLE!! Cheers, Hugh
Someone made "The First" few purchases at Hugh's Online Bike Shop the other day. So THANK YOU whoever you are. I hope you enjoy your purchases.

Monday, January 7, 2013

2012 The Year in Bikes (projects)

Hello, I can hardly believe that it is once again time for me to look back over the bike projects of the last year. I did not do quite as many bikes this year. However I did a few of the toughest or most involved restorations I have ever attempted. Enough about that, lets look back at some really cool old bikes.
Above: The Thruster Fixed Gear bike experiment. The question was, Can I make this Mal-Wart bike cool and reliable? And all for a total investment of $200.00 I must have done ok because I never heard from the new owner again. :) The Thruster Blog posts are by far the most viewed posts I have ever done. I went a little over budget. That is until I subtracted the value of the discarded parts. In the end, it was almost exactly 200.00 total cost.
Above: Back from 2011 the "GIANT Attraction" makes a second appearance. I was never too keen on the first crank, which was a last minute replacement. So in 2012 the Giant got a new /old Shimano Bio-Pace crank. And a New WTB Speed V Comp Saddle as well, the . And to finish it all off, a cleaned-up and very stylish red Cannondale wedge bag.
Above: A Schwinn exercise bike led to a post about how a mechanical speedometer/odometer works. I was amazed at what I found out. And I couldn't wait to share what I had learned. And hopefully the people who read the post (both of them) enjoyed it too.
Above: The Free spirit fixed gear bike project started with this department store bike.
Above: Then it became this bike. But it wasn't quite there yet.
Above: So then it morphed into this bike. Much netter, but still not quite right.
Above: Now were getting somewhere! But the brake, that's gotta go! And the bars.... they just do not look as good as I hoped they would.
Above: Finally! Yesterday (Jan 5th 2013) I found the look I was after. Good thing nobody was waiting for this one...ltms. But for me it was well worth the wait, I am glad I didn't give up on the vision.
Above: The Specialized "Rock Hopper F S". This bike also went through a few stages of restoration before I ended up with the bike above. Now it is the bike I ride most often. I think of it as my comfortable urban commuter. Not the best picture, I had just dumped it out back and it has a little dirt and sand stuck here and there. I am considering converting it to a real thread less headset with a new (and better) suspension fork at some point in the future.
Above: In the spring I did my first BB-UN55 bottom bracket conversion (typical to cartridge type).
Above: The bottom bracket conversion was for this single-speed / fixed-gear Touring bike. I took some flack for that one. So now I call it my single speed/fixed gear flatland commuter bike. But just between you and me it`s a "Flatland Touring Bike".
Above: A friend described this bike as looking like something I found at the bottom of a lake. ltms.. It made no sense to restore this bike, so I will not try to give you a logical reason for doing so. I looked at it as a challenge to myself. I just wanted to see if I had progressed to the point where I could handle it.
Above: The finished project. Thank you to all my readers who encouraged me through the project. And a special thanks to Darrell Yarborough at Bent Wrench restorations for donating the decals. And to the Bicycle Gods for making that old fork I had laying around the shop a near perfect replacement. lol.... And to Brian (the owner) for financing the project. And for showing up with the perfect Brooks Saddle!
Above: The Roadmaster Star Rider was my first "Tank Bike". The young lady (Angie) who brought me this bike was having it done for her brothers girlfriend. She had previously purchased two restored bikes from me. One for her Mom and the other for her Dad. What a sweet kid. I had the wheel set (1962 Schwinn) and pedals on hand. and I found a guy on the e Bay who had the same model for sale for 45.00. I offered him the same price + shipping for the tank (with light fixture) and front fender. I had to shave the rear tire a bit to get enough clearance for the fat gangster whitewalls.(just rounded off the edges a little) But other than that it went pretty smoothly.
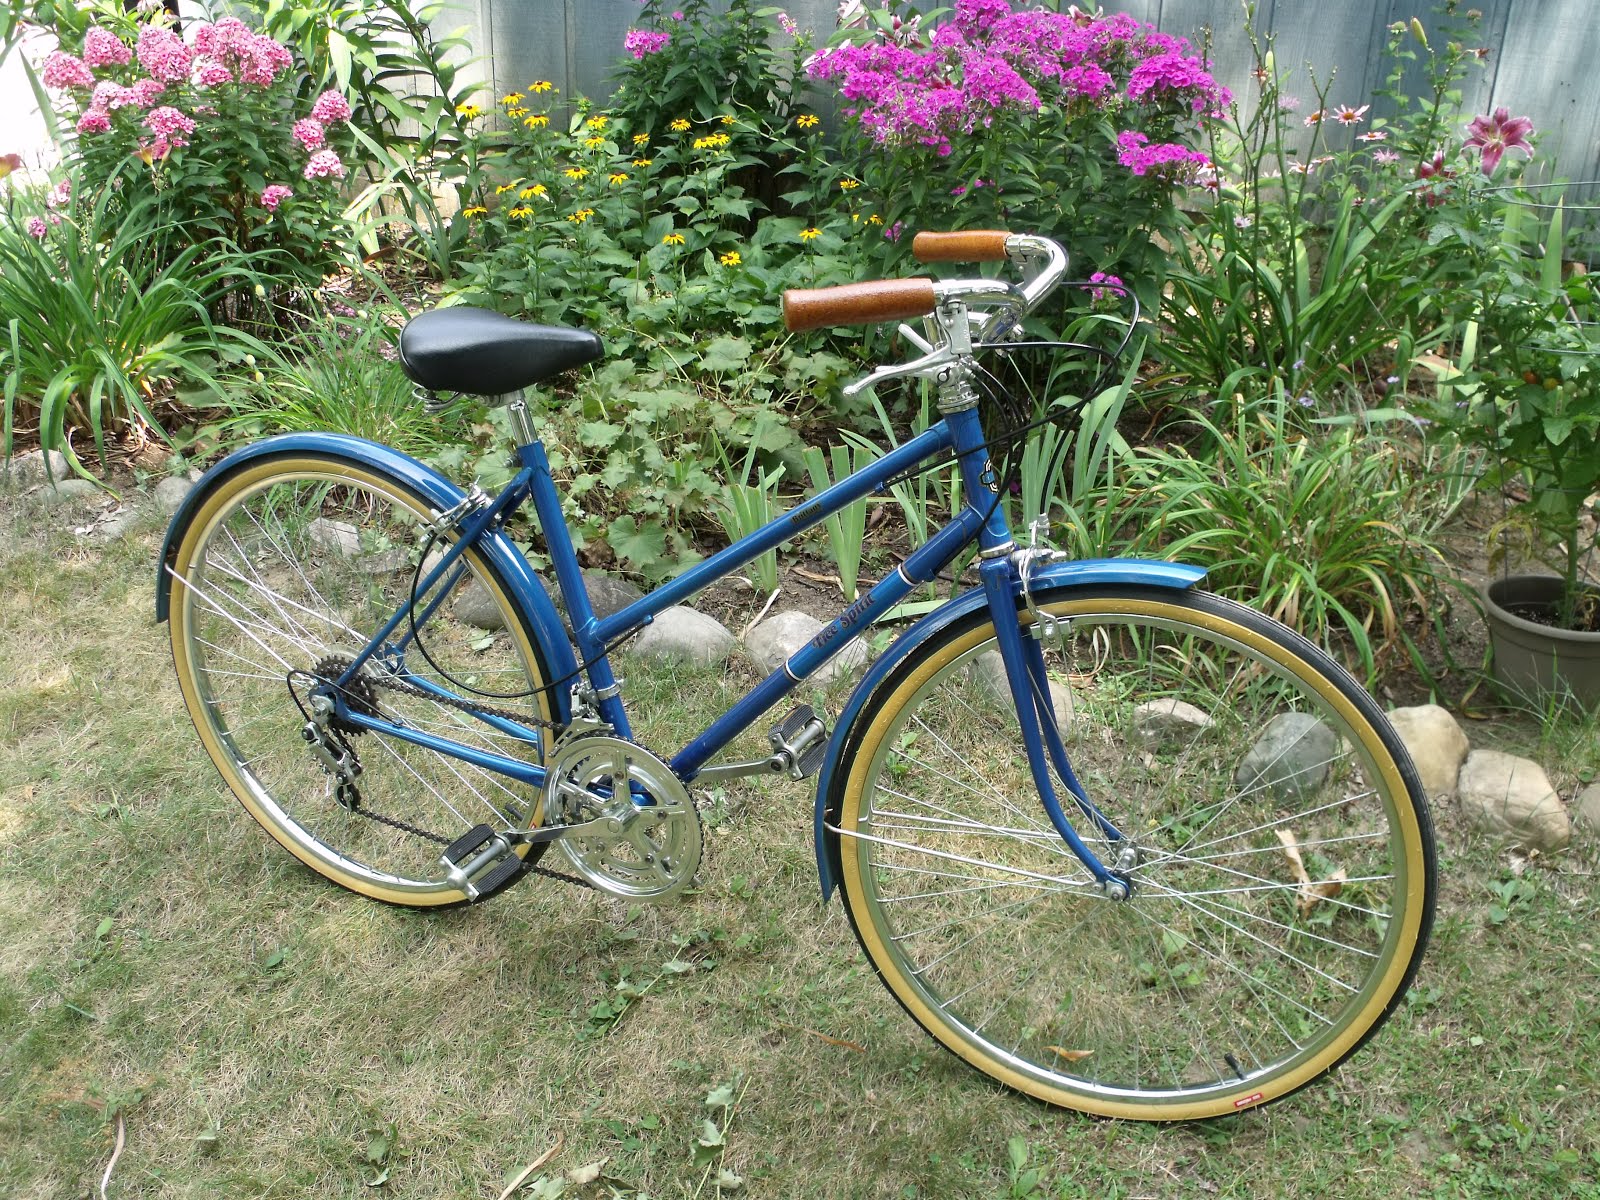
Above: I named this project "Sears Free Spirit Brittany" deja vu in Blue". About a year ago I restored the same model and color bike. I think this little Department store Free-Spirit with the lugged frame and the nice paint was well worth restoring. The first one went to Angie's Mom. This one went to Rebecca in AnnArbor. Go blue!
Above: This Raleigh Teton Mountain Tour I restored for a coffee shop buddy who wanted to have it done for one of his sons. It had a lot of surface rust and needed pretty much everything serviced or replaced. I also installed a "light set" but forgot to take another picture. I really enjoyed bringing this vintage chrome horse back up to snuff. I donated the red wedge tool bag from my old Rock Hopper which by this time had a larger trunk bag.
Above: Saying goodbye to Brian's Raleigh Sprite was a real heart breaker. But it did inspire me to restore my 1964 Raleigh Sports 3 speed.
Above: I went totally overboard restoring this Raleigh Sports for myself. Resto-Mod might have been a better word, as it has plenty of incorrect parts and accessories. Eventually I found a guy in Greece who had a N.O.S. set of 1960's Raleigh replacement pedals in the original box. (I won't tell how much I paid for those) And thanks again to Darrell at Bent Wrench Restorations for selling me the front wheel with the Dyno Hub. I also purchased a stock Sturmey Archer front wheel and hub from Darrell. This way if I ever sell this bike I can keep the Dyno Hub wheel and light for my next old Raleigh 3 speed. Also the decals are for a more modern 1970's Sports. But since I built it for myself that's ok.
Above: I found these 3 road bikes on the same day at the same place. And a freestyle bike (in the truck bed) on the same day at another stop. That was a good days hunting. The only one of the three I have restored so far is the Trek 330. (on the rack)
Above: The Trek 330 restored. This was a nice bike to work on, it had no serious issues. I do remember that the two water bottle cages were a bit pricey. Actually it was the most I ever spent for two cages. But they look as good on the bike as I imagined they would, so I guess it was a good call. And it sold really fast to Brian who was the first person to look at it. This TREK would surely have been a "keeper" if only it had not been too tall for me.
Above: The L.L. Bean bike was originally an all terrain type bicycle. When I took it in on trade it had a badly bent rear wheel and the bottom bracket was really bad. I managed to replace the bottom bracket with a good salvaged one. But the only 700 wheelset I had on hand was of the road bike variety. So I decided to go that route. I will be doing some more work on this bike, so expect to see it again in the not to distant future.
THE END :)
Above: After countless failed attempts to match the green paint, I finally decided to paint the fork legs white. I also had to make a crank change as the original somehow got bent. However this did allow me to install some vnice touring bicycle pedals. So now it was time to let this extremely rare "Custom Built - Parliament - Made in England" bike go to a new home. The original crank went with the bike in hopes that a matching one can be located somewhere down the road. If only this had been a horizontal top tube frame bike. There would have been no way I would have ever let it go. I did find out that in the late 1960'S Raleigh did build some custom bikes off site. I'm guessing it was to bring back at least the idea of hand built unique road bikes. I was able to date the bike at 1969 so it definitely fits that time frame. And country of origin of course.
Above: I am building an Online Bike Shop. It is hosted by Amazon.com There is a link to "Hugh's Online Bike Shop" just below the followers in the top right column. I am not through stocking it yet, but there is already much to see. So check it out when you get a chance. It does not cost anything to look.
Until next time Please RIDE SAFE and Remember to Always...RESCUE, RESTORE & RECYCLE...... Cheers, Hugh
 
Cycling Blog Directory