Hello and Welcome.
A few weeks ago one of my coffee shop friends "Don" asked me if I could tune up a lady friends bicycle. (his lady friend not mine) lol.. I am after all a happily married man! He also mentioned that there was a problem with the brakes and that he would like me to take care of that as well. I gave him the tune-up price (plus parts) and we agreed I would tune and repair the bike.
Note: The above pic is the bike finished and going back to the owner.
Above: A few days later I picked up the bike at the coffee shop. I was relieved to see it was not a Department Store Bike but a Nishiki Blazer
mountain bike. I could see right away why it needed a tune-up. Every thing was filthy and or coated in mud. It has been my experience that "the most common problem with derailleurs" Is Neglect. Most just need a good cleaning and lube and some slack taken out of the cable. Countless times I have tried to tell folks that a little light maintenance can go a long way. I get the feeling that most people think that if they purchase a good quality bike they will not have any problems. Even a good quality bike needs a little maintenance from time to time.
CAUTION:You would Not normally want to wash a bike with a power-washer. And would never point it at any hub or bracket shell (from the side) or headset from the top or bottom. This could easilly blow-out the grease and also get the bearings and inner surfaces wet causing rust or corrosion.
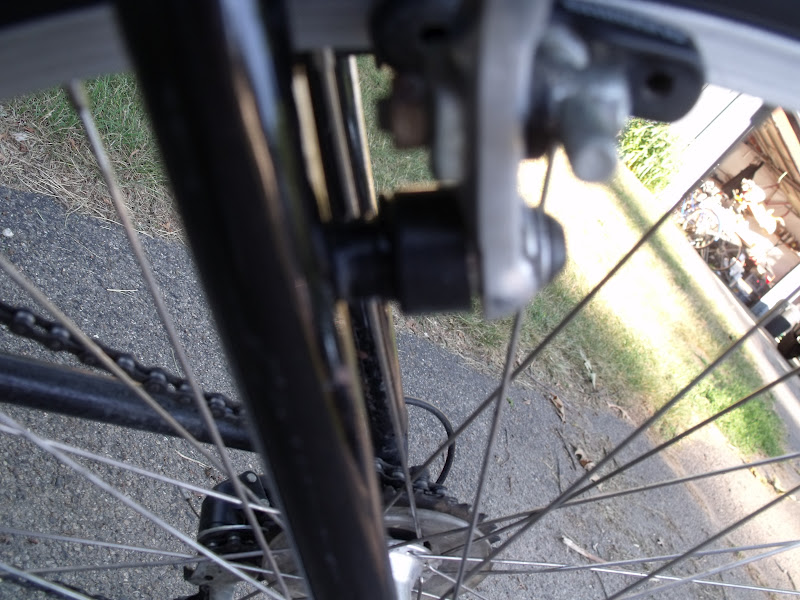
This was an "absolute first" for me. This is the the
front derailleur after Power Washing at the quarter car-wash. Now it is ready for a "normal cleaning" and lube.(
White Lightning Clean Streak and
Tri Flo) This lady lives on a dirt road that is regularly coated with chloride for "dust control". When a chloride treated road gets wet it makes a mud that sticks like crazy. A mud that will also discolor chrome if not removed promptly. So once the mud was washed away I gave it the normal spray (White-Lightning) and brushing(Park brush and scraper set) Then a spray with the Tri Flo. After that I took a little slack out of the cable. And guess what? The derailleur now works flawlessly. So the message here is.. Do not be so quick to replace your malfunctioning derailleur, chances are it is just dirty.
Above: Here is the
Shimano Altus rear derailleur after blowing the hardened mud off at the quarter car wash.(only the derailleurs were power washed) Now the rear derailleur and
free wheel and chain just needed a little basic maintenance. For cleaning the Free wheel I used White-Lightning "Clean Streak" and the Park scraper and brush. Then a light spray with the Tri Flo.
Above: Here I am using my
chain cleaner with Park Citrus Chain Cleaner. After the first cleaning, I rinsed out the cleaner and refilled it and cleaned the chain again. Sometimes that is what it takes. I wiped it down with a rag between cleanings to help the process.
After drying I gave the chain a light coat of
bicycle chain lube and wiped off the excess. There is an old saying "If your chain looks oily, it has too much oil on it". Dirt sticks to oil!
You do not lubricate a dirty chain. You Clean Then Lubricate a dirty chain. Once the chain, rear derailleur and free wheel were clean and lubed. I again removed the slack from the cable (as I did on the front derailleur) then the rear shifted flawlessly as well.
The brakes were not so easy.
Above: Here is a diagram of a very similar
MTB cantilever brake. I have labeled the spring cover (A) and the return (torsion type) spring (B). When the brake is assembled it is the spring cover (A) that holds the return spring (B) in the proper position. The return spring has a prong at each end. One prong end is inserted into a hole on a little flange (that on this bike is welded) to the brake post mount that is brazed onto the seat stay.
The outer prong is inserted into a hole in the top inside of the spring cover.
Above: Three of the four return spring covers removed from the
Nishiki bicycle. As you can see these three are broken and will not hold the return springs in the proper proposition. This causes the springs to unload or loose tension on the arms. The result is brakes that do not return to the proper position when the brake lever is released. This results in brakes that rub the rim and do not apply good pressure when applied. I suspect the owner tried to adjust the rub out of these brakes making them pretty much useless. Now my problem is, Where do I find these little plastic spring covers off a 25 year old bike? Answer... I don`t.

Above: (C) Return spring (D) Single edge razor blade (E) The piece I cut off a larger salvaged spring cover to make it fit. What I did was search through my tub of small brake parts and found three slightly taller spring covers of the same diameter. I was not sure if this would work, but I had a good feeling it might. One good thing about the replacement covers is they were made out of a more pliable (flexible) material. I stood the two covers side by side to check size. This showed me I needed to shorten up the replacements proximately 1/8 inch. That is what I used the razor for.

Above: Here is a close-up picture of one of my replacement spring covers in place on the reassembled brake. I do not have much experience with taking apart broken cantilever brakes. I think the "Bicycle Gods" were watching over me while I was attempting this repair. What is harder than the actual repair? Trying to explain how I did it so it makes sense. Hopefully the pictures will help with my description of the work. Good News! Don has since reported back to me that The lady is very happy with her bike. She told Don "It had not ridden that well in years".
Above: OOPS! I forgot to include this. I replaced the front left cantilever arm. (the one with the anchor point) The original was damaged, it was easier to replace it than to attempt repairing it. My replacement is the same size and basically the same design. However it was painted black. So I sanded off most of the black finish and now it does not look out of place. And it works great!

Above: Getting back to the dirt roads sprayed with chloride for "dust control" for a moment. Above you can see where this mud ate right through the paint. The message here is "If you ride on a dirt road that is sprayed with chloride for Dust-Control, Then you better be practicing good Rust Control!"
Above: In other news, I have made a few changes to the classic style
fixed gear bike. I have installed a new brown
Charge spoon saddle and some very comfortable and stylish ergo grips. I think I am going to remove the brake to give it a cleaner look.
Above: Coming soon "Raleigh Teton Mountain Touring" restoration. And a 15 to 18 speed conversion. Easier and cheaper than you might think.
Until next time Please RIDE SAFE and Remember to Always... RESCUE, RESTORE & RECYCLE
Cheers, Hugh
ATTENTION AMAZON SHOPPERS!! You can help Support This Blog by simply logging onto Amazon dot com using the Amazon Search Box located at the Top Right Corner of This Page. It will not effect your cost and I will receive a small commission. Thanks for your support, Hugh


Cracked bushings on those old canti brakes are pretty common. Had to deal with it when I overhauled my GT mtn bike. I ended up getting a hold of some NOS Shimano canti's that were an exact match for the old brakes - and only paid about 20 bones for them - but I may have gotten lucky on that count. Replacing the bushings with a set of engineered versions was a bold move; great work!
ReplyDeleteThanks Cody,
ReplyDeleteSometimes it is better to be lucky than smart :) It worried me "just a little" because it was not one of my bikes. But I test rode it pretty hard and they held up fine. Thanks again.
Cheers, Hugh
I, too, was sold on the coin-op car wash for cleaning dirty bikes (especially in winter, when it's way too cold for a hose and bucket at home) but today I was reading "Zinn & The Art Of Road Bike Maintenance", in which Lennard Zinn cautions against it: "Avoid using high-pressure car washes to clean your bike. The soaps are corrosive, and the high pressure forces them into bearings and frame tubes, causing extensive damage over time. If you do use a pressure washer, never point it toward the side of the bike, which can blow the bearing seals inward; instead, point it always in the plane of the bike." I don't know if I'll heed this advice next time I need to blast the gunk off of an old Peugeot in December, but it's food for thought, I guess.
ReplyDeleteps. Altus brakes are notorious for having cracked spring bushings. And that's why I trade most of my 1990s mountain bikes to someone else!
Hey Anonymous,
ReplyDeleteOf course you would not normally wash a bike with a power-washer. And would never point it at any hub or bracket shell (from the side) or headset from the top or bottom. I would have thought that is just common sense. But I should have included that in the post. Thanks for the heads-up.I will update that asap.
I would think someone "so concerned" about doing things properly would repair the brakes on the mountain bikes. Instead of just dumping them on someone else. Thanks for leaving the "Anonymous" comment.
Cheers,Hugh